

Nowadays, Google My Business listings play a significant role in businesses’ online presence with a local or physical office.
To understand what Google’s GMB results are based on, we must know that it has a different focus than the common organic results in SEO Positioning. If, for example, someone searches for “plumber + Location”, it is clear that this user is not looking to explore the web but rather to find a plumber near their location.
Google, with the help of its specific algorithm, correctly interprets this type of search, rewarding the positioning of GMB listings belonging to real businesses.
One thing is clear: if you want to stay up to date, creating and optimizing your Google My Business listing as soon as possible while including the listing in our SEO audit process is imperative.
In this guide, we will learn step by step how to master this platform and thus obtain the best possible results for our business in 2020 and beyond.
What is Google My Business?
When we talk about Google My Business (GMB), we must know that it is a platform from which we manage our company listing on Google Maps and in local search results.
Once we have the listing, we can add our contact information and business hours, interact with potential customers, and upload images of the physical company and its products or services.
Another of its most important features is that it allows you to respond to customer reviews, allowing us to manage our online reputation.
What is Google My Business for?
Simply having a website is no longer sufficient to establish an online presence for your business.
Nowadays, users who browse through mobile devices are looking to complete their transactions without entering a website or receiving a call to confirm their process. If they can get the information they are looking for directly from your listing, they will do so, which is why it is so important to have a complete and optimized GMB listing, which helps both Google and customers find what they are looking for with the least effort.
Knowing this, Google has begun to position its GMB results at the top of local searches.
Now, beneath the Google Ads ads, the first results will be the GMB listings related to the user’s search, relegating the SERP to a lower position.
Another added advantage of GMB listings is that when you click on them, Google will show you an information panel on the right with a wealth of data about the company, which greatly facilitates the user experience.
This listing provides information such as the business’s physical address, average rating, business hours, contact information, and general business information such as recent products or listings.
How to create a Google My Business listing
As expected, our first step will be to create our Google My Business listing.
Surprisingly, this is one of the steps that will have the greatest impact on the upcoming positioning of our listing. This is because Google gives most of the strength to its listings based on the initial data rather than on its progress.
You can still improve your listing’s positioning once it’s created, but it will cost you more than with organic positioning. That’s why we must put a lot of effort into registering our listing optimally to have a greater chance of obtaining a high positioning in the GMB listing results.
Now that we know its importance let’s see step by step how to create our file:
Step 1: Log in to our Google account
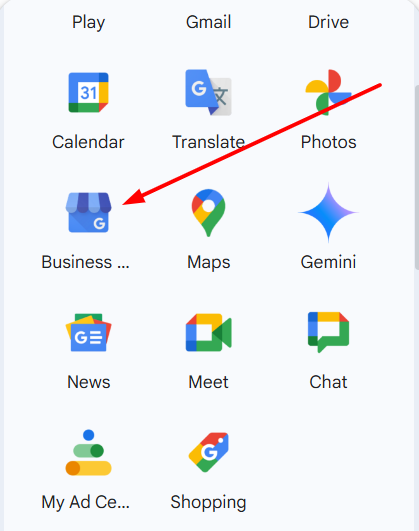
Our first action will be to enter the Google My Business page, where we will click the “Manage now” button.
Google will then ask us to log in with a previously created Google account.
You can safely use Google accounts that have not been used for GMB before, such as email addresses, Gmail usernames, Google Analytics accounts, or any other Google application that requires a user. If you do not have an account with them, you will need to register a new one.
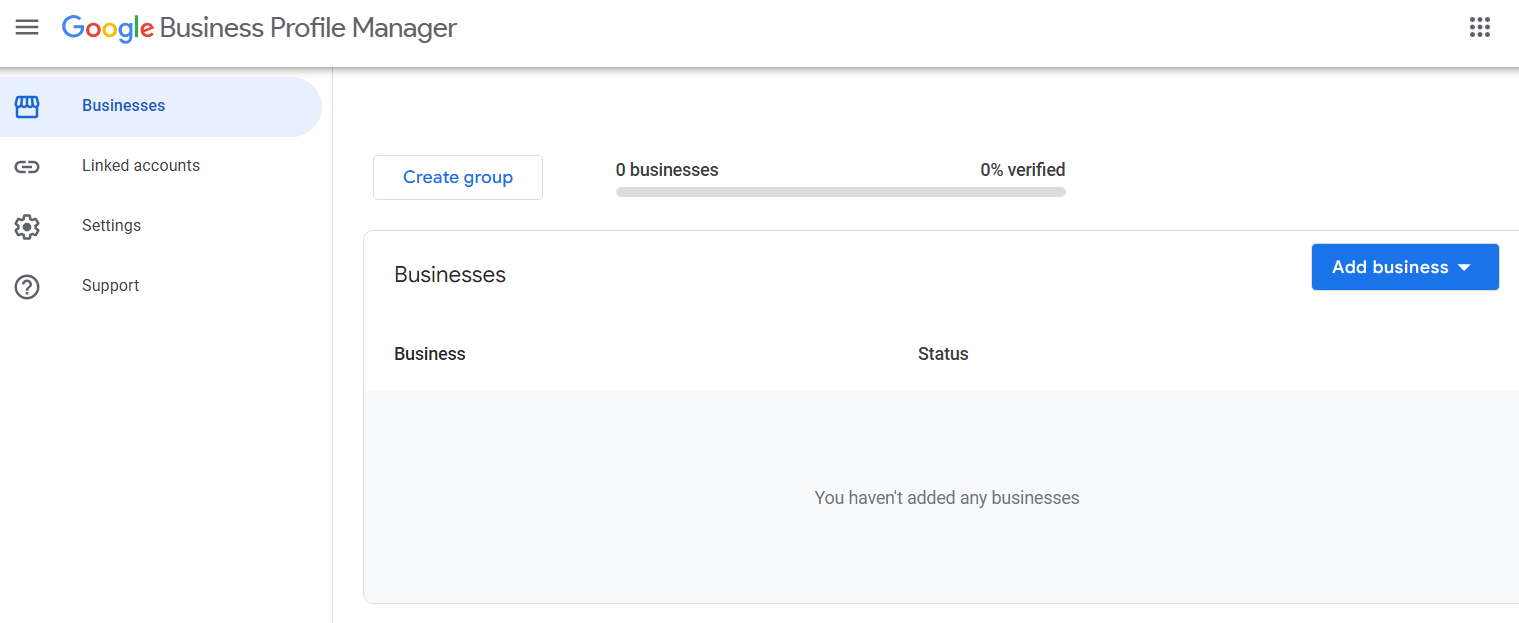
Once logged in, as long as it is our first time in GMB, we will be redirected to create our first listing.
Step 2: Search for your Google Maps listing in case it already exists
A peculiarity of GMB is that anyone can register a business, whether the owner or the customer.
That’s why the first thing we should do before creating our listing is search for our business to see if another person has registered it without our knowledge. This happens very often in businesses dedicated to construction or restaurants. For example, customers usually create GMB listings to leave their opinions about their latest bathroom renovation or what they ate that day at the new restaurant on the corner.
To verify that it is not already created, we write the exact name and location of our company. Without clicking, the possible locations related to your business should appear below.
If you find your business already created, you can select it, which will take you to the company information screen, where you can claim ownership of the listing. To do this, Google may request some data, depending on various factors, such as the time since the last edition, added content, etc.
Typically, a request is sent to the current owner of the listing, who has a week to respond or pass it directly to you. Other possibilities include direct and instant access to the listing or a request for a telephone code to confirm the transfer.
This is the only procedure to request ownership of a listing. It is very common to make the mistake of trying to request ownership through the “Suggest an edit” button located at the bottom of the business’s Google Maps listing:
This feature that Google Maps uses allows users to generate information that they believe will interest other consumers.
From here, you can suggest content edits, and Google will make the changes if it deems appropriate, but you will still not have ownership of the profile, and changes will be subject to a Google supervisor. Additionally, you won’t be able to reply to customer reviews or choose cover images.
Step 3: Set your company name
If our business listing has not been created yet, we will click “Add your business to Google”, which will take us to the business name screen.

We type in our company name and click “Next.”
If our business name is very common or if we belong to a franchise or similar organization, we will have to make sure to include our location in the name to differentiate ourselves from the rest.
Another option is to include the name of your city or street so you can target potential customers in your area.
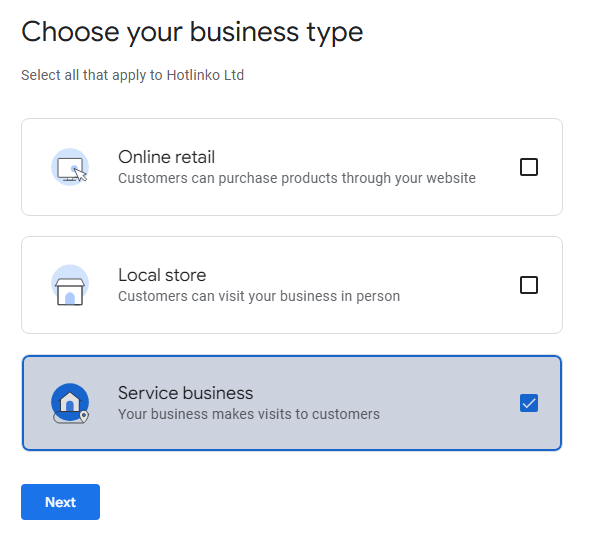
Step 4: Choose your company category
Once we have configured our company name, it is time to choose the category where Google will classify us.
As we mentioned at the beginning of the article, it is very important to correctly categorize our business from the very beginning because if the search engine puts you from the beginning in a category that does not correspond to your business, you will have serious problems in the future to reverse the situation, since Google reviews these changes a lot and often, even if we edit it later in its file, these changes will not be reflected until a long time after sending the review, if they modify it at all…
As we fill in the “business category” search field, a menu will appear in which we can see the possible options:
We select the option that best suits our business and our potential clients.
For example, if you run a restaurant, ensure you are as specific as possible and not just stick to the “restaurants” category. Instead, look for options that best fit your cuisine, such as “Chinese Restaurant” or “Lamb Roastery.”
When we finally have a clear idea of the category, we select it and click “Next”.
Step 5: Add your business location
If our business has a physical location where customers can handle transactions, it’s essential to include our address in the Google My Business listing.

We select “Yes” and click “Next”:
Next, we enter the data in the corresponding fields, not forgetting to include our street number, the name of the building, as well as any information that helps to locate the company better:
Finally, a map will appear where we will have to place a marker in the exact location of our business:
After Google identifies the location, we can proceed to the next step.
Step 6 (optional): Set your delivery/service area
If your business offers delivery services or has a fixed service area for your products, it is best to record its boundaries as precisely as possible.

First, select “Yes, I offer my services outside my location” and click “Next”:
Then, we search and select all the areas that our business covers:
Once we select the main areas, we click “Next” to save and continue.
Remember that you can add and remove areas at will once the file has been created without causing as many problems as the category editing we discussed earlier.
Step 7: Fill in your contact information
The next step is to register the contact information that we want to show to customers:
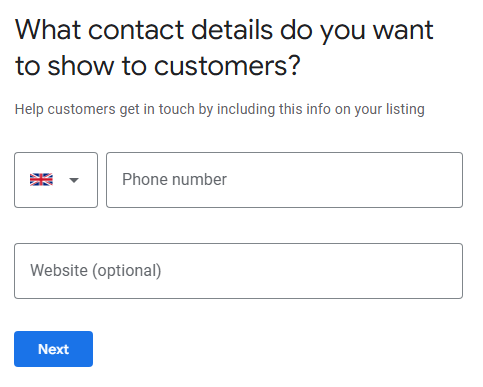
We fill in the “Contact phone number” and “URL of the current website” fields with our data and click “Next”.
Step 8: Finalize your profile
Finally, we have reached the final step:
Once we click “Finish”, all our data will be saved in the company profile, although we will not yet have official control of the file.
To do this, we must verify that we are the company’s owner for which the profile was created.
How to verify your Google My Business listing
Once we have created our business listing, it is time to verify with Google that we are the establishment’s owners.
The standard option is to validate our business through a Google confirmation code sent to our postal address. To request verification, we must log in and enter our GMB panel.
Make sure you select the correct Google user when you log in. A common mistake is to think that your profiles have disappeared when, in fact, you need to log in with the right user.
The postal option is always available, and for most companies worldwide, it is the only means of verification.
To request the code, we only need to enter a recipient, a natural person or company and click “Postal mail”. Once we receive the email, we will only need to follow its instructions and enter the corresponding code in our form to verify the account definitively.
Another option to verify our listing is by phone or email, although this will only be available in certain cases. If Google gives us the option, we can select it through the “More options” tab.
Ensure that your email or phone number is accurate, then choose the appropriate option. For phone calls, an automated system will deliver the verification code.
Once the code has been entered, our profile will be verified, and we can manage it freely.
How do you optimize your business listing on Google?
Optimizing Google My Business listings as an SEO factor requires focusing on three key aspects:
- Display images that attract your potential customers.
- Highlight the most relevant information for your customers.
- Manage your reviews conveniently.
In addition, it is always possible to go one step further, either by creating weekly publications, adding product catalogues or including the possibility of reserving our products.
1. Cover photo
The cover photo undoubtedly influences our listing the most. Google always places it at the top of our listing, making it the first thing users will see in most search results.
Both the cover and interior photos must be as attractive as possible for potential customers, without forgetting that the image must accurately represent our business to guide the user as much as possible.
To access and edit your photos, click the “Photos” option in the left menu. Here, you can upload your logo, cover photo, interior images of your business, and even a welcome video if available. When uploading your photos, please consider the following guidelines:
- Google My Business Logo: Square, 250 x 250 px (minimum 120 x 120; maximum 5200 x 5200 px)
- Google My Business Cover Photo: Panoramic, 1080 x 608 pixels (minimum 480 x 270; maximum 2120 x 1192 px)
- Supported Image Formats: JPG or PNG
- File Sizes: Between 10 KB and 5 MB
- Quality: Google requires high-quality, unedited photos for all listings. The image must be well-lit and in focus, free of significant editing or excessive use of filters.
2. Reviews
Today, there is no doubt that the reviews that customers leave on our profile are one of the factors that most influence both the perception we generate in customers and the positioning itself.
Google My Business has a peculiarity: the public perception of your business is exclusively in the hands of your customers. This is often hard for business owners to accept, but it is what we have to live in the age of online reviews.
One way to regain some control is to respond to positive and negative reviews, seeking to convey an image of closeness to the customer. In addition, good review management can generate new business opportunities with customers who were already considered lost.
To respond to reviews, select the “Reviews” tab in the navigation bar of your listing:
If your listing has a large number of reviews, you can always sort them to show only the unanswered ones.
Try not to focus solely on responding to positive reviews. Often, a negative review that is treated personally and seeks a solution to the customer’s problem ends up becoming a 5-star review.
3. Click to book
Every restaurant with a Google My Business account should aim to have the table reservation feature available directly from the Google Maps listing without needing further clicks.
This integration makes the process easier for the customer, reducing purchasing resistance and encouraging bookings.
You must obtain a Google Manager to integrate reservations directly into your listing.
Please note that not all areas can incorporate this feature; it depends on the country and area in which the business is located.
4. Publications
Publications are our means of disseminating all the news we want to share with our customers, such as offers, press articles, etc.
In addition, it is how Google learns about our activity, rewarding those that maintain a continuous pace of publications with content that may be useful to users.
We can also set up events and create a calendar to help potential customers decide when to visit our establishment.
As we have already said, these events can help attract clients. Google Maps advertises them in a special way, which gives us a greater organic reach without the need to set up an advertising campaign on social networks.
5. Product catalog
The last step in optimizing our Google My Business listing is creating a catalogue of our products.
Since relatively recently, GMB and Google Maps have allowed us to display product categories and individual items. The improvement in visibility and attractiveness that this tool brings us…
Click on the “Products” tab in the navigation bar, and you will be able to create categories and products for your listing:
This feature is most useful for brick-and-mortar retailers, helping to promote the product lines they most want to emphasize to their customers.
Conclusion
This is where we end our guide on everything related to Google My Business, from creating our first listing to optimizing and correctly disseminating our location.
Remember… a cover photo that attracts customers, positive reviews in reviews and on social media, and offering quality business information are our best paths to success.


